AI Interior Design for iPhone: The Best Apps and How to Use Them
The best AI interior design apps for iPhone turn a photo into styled room redesigns. Here's how to pick one, use it well, and get photorealistic results.
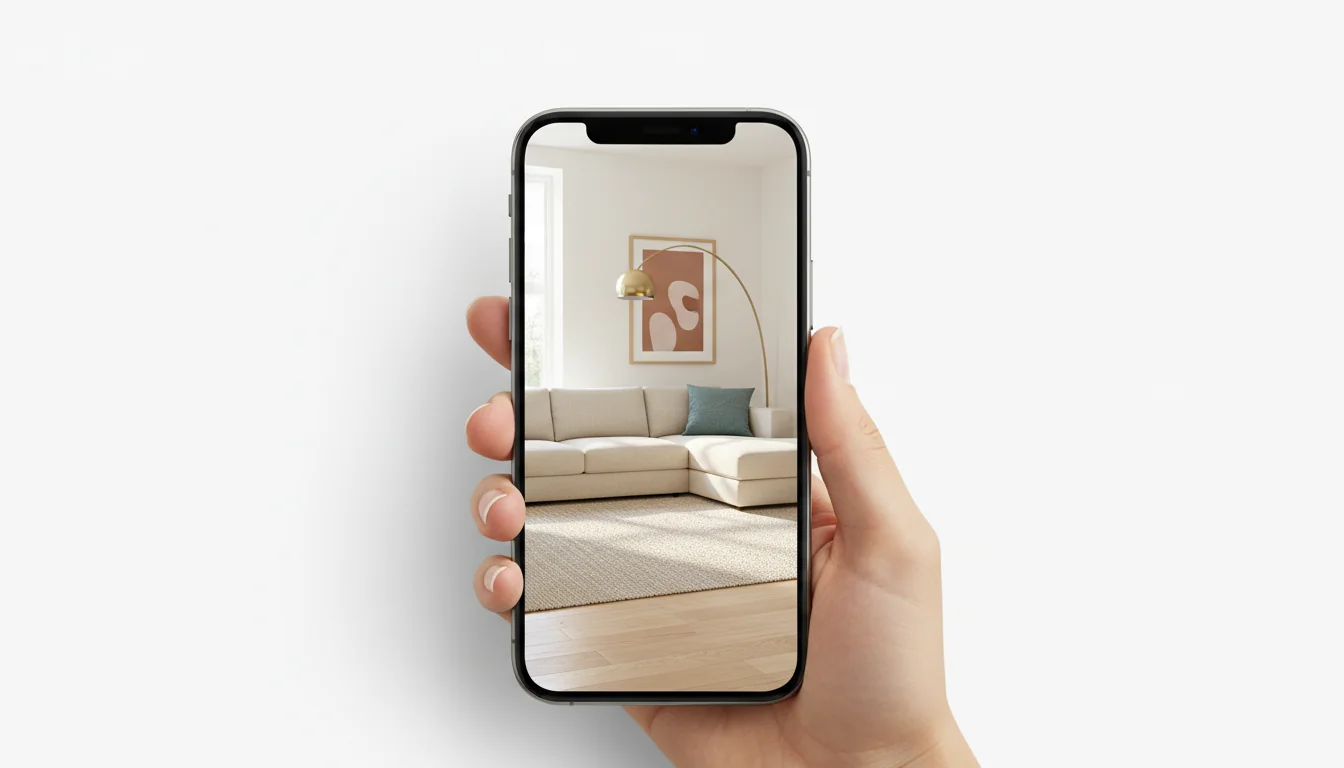
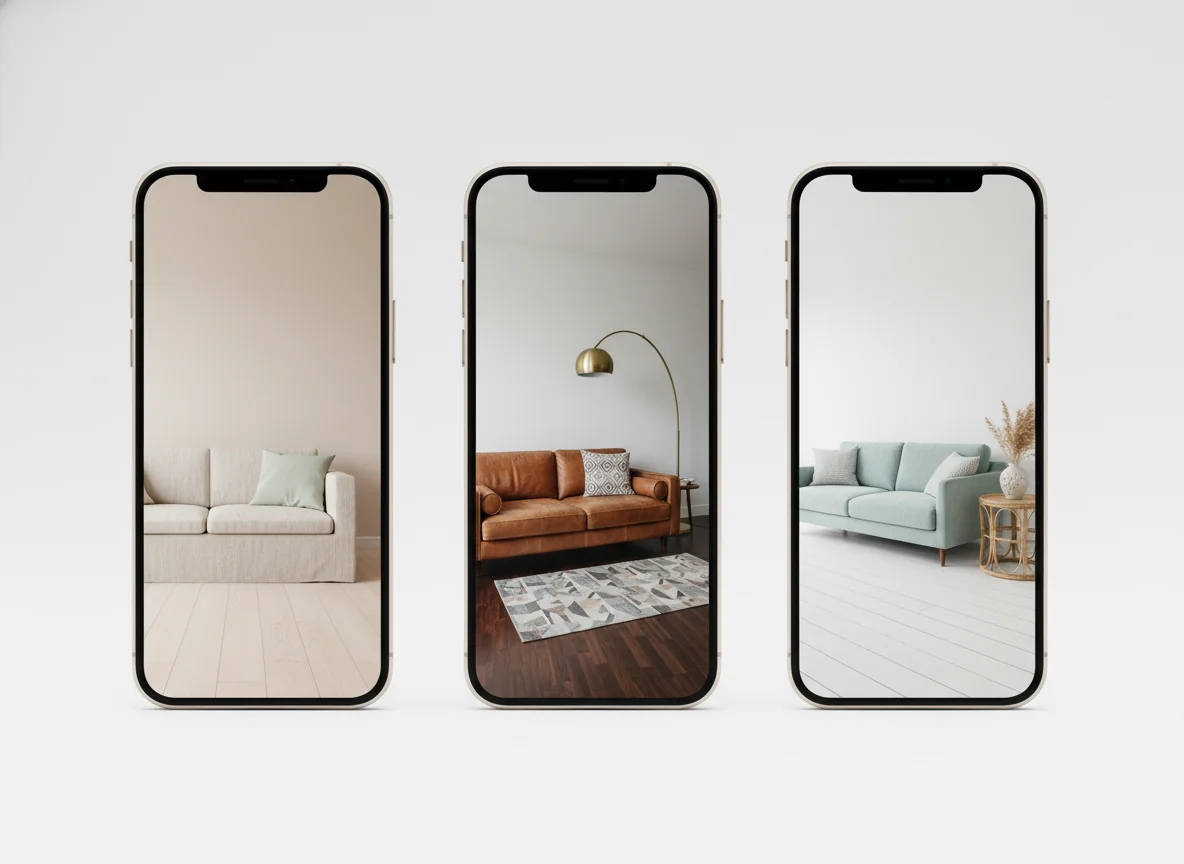
You’re standing in your living room. The sofa is fine. The walls are fine. The whole room is fine — and you’ve been staring at it long enough to know “fine” is not the bar. You open your iPhone, take a photo, and want a tool that hands back the room you wish you lived in. Three styles to compare, a real shopping list, no Pinterest spiral.
That tool exists in 2026, and the iPhone is where the category is best. Apple’s hardware has quietly become the most useful camera-and-sensor stack in consumer phones for AI room redesign — and the apps have caught up. The best AI interior design apps for iPhone turn a single photo into styled, photoreal redesigns in seconds, with shoppable furniture lists attached. The trick is picking the right one and using it the way the model expects.
What is an AI interior design app for iPhone? An AI interior design app for iPhone is an iOS app that takes a photo (or LiDAR scan) of a room and returns photorealistic redesigns in the styles you choose — Scandi, mid-century, Japandi, industrial, coastal — usually with a shoppable list of matching furniture. The best apps run on-device for capture and in the cloud for rendering, finish a room in seconds, and let you compare multiple styles side by side. Roomagine works this way on both iPhone and Android: photograph the room, pick from 24 styles, and get the same space back redesigned in about ten seconds.
Why iPhone is a strong fit for AI interior design
There are reasons unrelated to brand loyalty that AI interior design works well on iPhone. Three of them matter for output quality.
The first is the camera. Apple’s computational photography pipeline has spent the last six years optimizing for color fidelity in mixed indoor lighting — the exact conditions a living room presents. Tungsten lamp on the left, daylight from the window on the right, a TV throwing cool blue across the wall: the iPhone’s auto-white-balance and Smart HDR usually produce a photo where wood reads as wood and white walls read as white. That matters enormously for AI redesign, because the model uses your photo’s color information to anchor materials in the redesign. Garbage color in, slightly-off-color out.
The second is sensor coverage. From the iPhone 12 Pro onward, Apple has shipped LiDAR on Pro models — a small but capable depth scanner that maps rooms in centimeters, not inches. And every iPhone since the X has TrueDepth on the front. Both of these get used by the better AI design apps to capture room geometry, not just a flat image. The result: redesigns that respect the actual proportions of your room rather than guessing at them.
The third is the developer ecosystem. iOS has a smaller user base than Android globally, but a higher willingness to pay for apps that make a real difference. That’s shaped the category — most of the polished, well-maintained AI interior design apps shipped iPhone first and Android second. If you’re on iPhone, you’re shopping in the deeper end of the pool. For a broader category overview that isn’t iOS-specific, our AI interior design app primer covers what to look for across platforms before you commit to one.
What TrueDepth and LiDAR add
The two depth sensors built into iPhones do different jobs, and only one of them is relevant for room redesign — but both come up in app marketing, so worth getting straight.
TrueDepth is the front-facing sensor (the dot projector and IR camera in the notch / Dynamic Island). It’s purpose-built for face mapping — Face ID, Memoji, selfie portrait mode. Its range is short (about a meter) and its field of view is narrow. A handful of design apps use it for selfie-based color analysis (matching your skin tone to a palette, for example), but it doesn’t see across a room. Treat any “AI interior design” feature that leans on TrueDepth as a novelty rather than the main event.
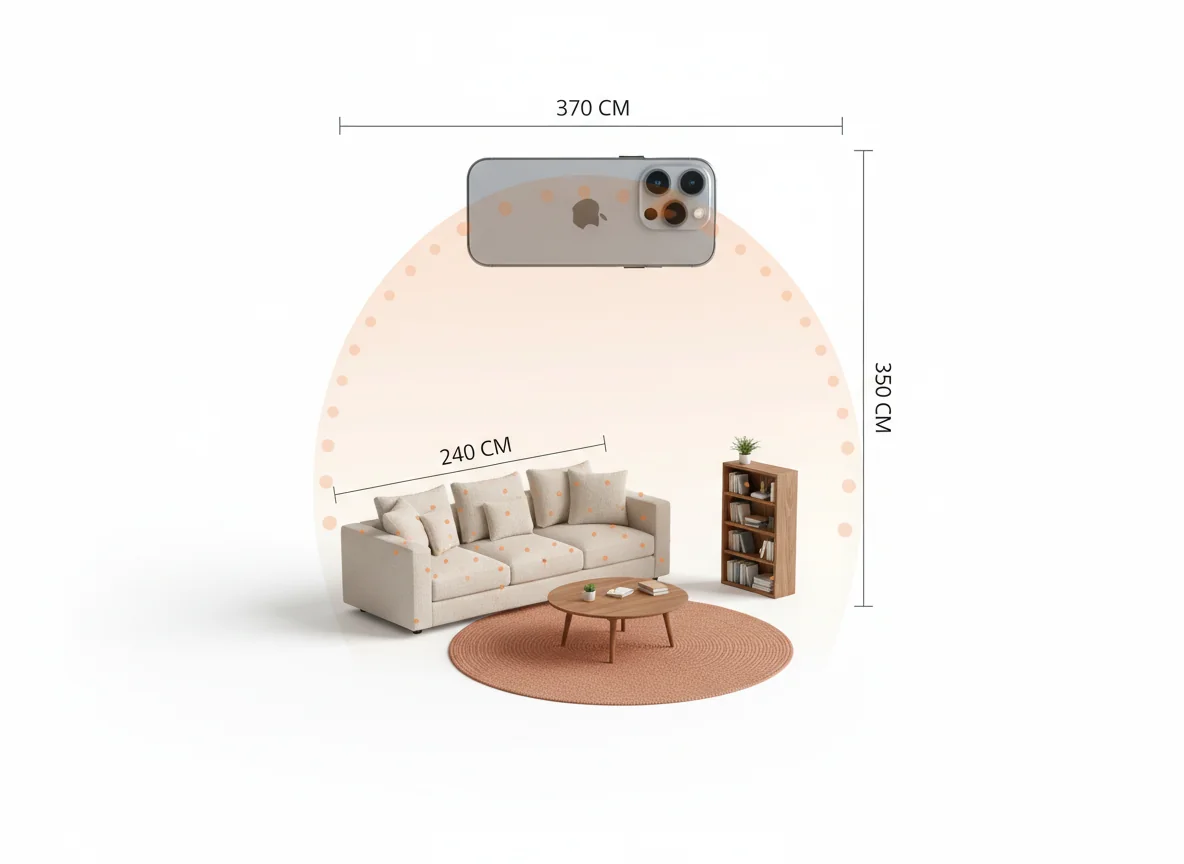
LiDAR is the back-facing scanner that ships on iPhone Pro models (12 Pro through 17 Pro as of this writing). It bounces low-power laser pulses off everything in the room and reconstructs a depth map in real time — accurate to a few centimeters at 4–5 meters. This is the sensor that matters for AI room design. With LiDAR, an app can capture not just what your room looks like but how big it is, where the walls actually meet, where furniture stops and floor begins. The result is two upgrades.
The first upgrade is scale-correct redesigns. Without depth, the AI infers room scale from visual cues — door height, window size, sofa proportions — and gets within 10–15% in most cases. With LiDAR, the AI knows your sofa is 240 cm and your wall is 380 cm and renders the redesign at correct scale. That matters because the furniture suggestions that come with the redesign get matched to your real dimensions, not estimated ones.
The second upgrade is occlusion and layout. LiDAR captures a room in 3D — the AI can render the redesign from a slightly different angle than the photo (because it has the geometry), or place a new piece of furniture where the old one was without confusion about what’s behind it. Apps that scan with LiDAR will sometimes let you walk around the redesigned room in AR, which is the kind of thing that sounds gimmicky until the second time you use it.
If you have an iPhone Pro, use the LiDAR scan path when the app offers it. If you have a non-Pro iPhone (the regular iPhone 14, 15, 16), the photo path is still excellent — the camera is doing a lot of the work that LiDAR would otherwise do. You’re not locked out of good results; you’re just leaning on inference more than measurement.
How to capture a room photo that actually helps the AI
Most of the variance in AI interior design results comes from the input photo, not the model. A bad photo of a beautiful room produces a mediocre redesign; a careful photo of a plain room produces a striking one. Six things matter.
Stand in the corner, not the middle. Most rooms are best photographed from a corner that catches two walls and the floor in one frame. The model needs at least two visible walls to lock orientation; a center-of-the-room photo gives it one wall and a lot of ceiling. A diagonal corner shot is the standard composition for a reason — it’s also how interior magazines shoot rooms.
Crouch slightly. Hold the iPhone at chest or hip height, not at eye level. Lower angles flatter rooms the same way they flatter people in photos. They emphasize floor, furniture, and the lower two-thirds of the wall, which is what redesigns actually transform. An eye-level shot puts too much ceiling in the frame, and ceilings rarely change in a redesign.
Use the 0.5x ultra-wide if you can. Recent iPhones (14 Pro and later) have an excellent ultra-wide at 13mm. For small rooms, the 0.5x lens is the difference between “sofa cropped at the edge” and “the whole sofa, the rug, and a hint of the next room.” The AI handles ultra-wide distortion fine — it’s been trained on millions of phone photos with the same characteristics.
Daylight, but not direct sun. Mid-morning or late-afternoon ambient daylight, blinds half-open, no overhead fluorescents on. Direct sun creates blown highlights the AI struggles to reinterpret. Cloud-overcast days are surprisingly perfect.
Tidy the obvious clutter, ignore the rest. Pick up the laundry on the chair. Don’t bother fluffing the cushions. The AI is looking at composition and color, not at a magazine shoot — and a too-staged starting photo sometimes confuses the model into producing redesigns that look as performed as the input.
Take three photos. Same room, three corners, different angles. The good apps let you upload all three and pick the redesign you like best. The marginal cost of taking three photos is 30 seconds; the variance reduction is significant.
For renters and homeowners new to the redesign workflow entirely, our virtual room design app post covers the broader capture-render-shop loop with photo examples that hold up across phones.
Three iPhone AI interior design apps to know
The iOS App Store has dozens of interior design apps; most of them are reskins of the same handful of underlying models. Three are worth knowing about as of mid-2026 — picked because they each do something genuinely well, not because they’re the only ones that exist.
Roomagine is the app this site is built around, so the disclosure is upfront — weigh our verdict on it accordingly. It works from an ordinary camera photo rather than a depth scan: photograph the room, choose one of 24 styles or describe what you want in your own words, and a single design takes about ten seconds — and variants render in parallel, so asking for four at once takes no longer. Any finished design can then be searched for real, buyable furniture matching the chairs, sofas, beds and tables in it — that part costs nothing. It’s free to download, your first design is on us, and after that you buy credits in packs rather than committing to a subscription. Worth saying plainly: there’s no LiDAR mode, no 3D model, and no separate 4K tier.
Planner 5D is a longer-running interior design app that added AI redesign in 2024 and has iterated steadily since. It’s stronger on floor plans than on photo redesign — if you’re trying to lay out a room from scratch rather than restyle an existing one, Planner 5D’s drag-and-drop floor planner is the most polished on iOS. The AI rendering layer sits on top of that. Worth knowing about if your project is “I’m moving in three weeks and need to plan furniture placement,” not “I want to see what my current room could look like.”
Homestyler is a long-running iOS interior design app with a large catalog of branded furniture (IKEA, West Elm, Crate & Barrel, others) that you can place into your scanned room and render against. The AI redesign feature is newer and less central to the product than Roomagine’s, but the catalog depth is the differentiator — if you want to see specifically how a Söderhamn or a Cloud sofa would look in your room, Homestyler is the right tool. The rendering style leans more “showroom catalog” than “magazine spread,” for better and worse.
| App | iPhone strengths | Best for | Pricing model |
|---|---|---|---|
| Roomagine | Camera capture, ~20s render, 24 styles, shoppable matches | Photo-to-redesign with furniture you can actually buy | Free to download, then credits — no subscription |
| Planner 5D | Floor planner, drag-and-drop layout, AI render layer | Planning empty rooms or new spaces from scratch | Freemium with subscription |
| Homestyler | Branded catalog (IKEA, West Elm, Crate & Barrel) | Visualizing specific products in your room | Freemium with subscription |
For a fuller comparison that includes apps for non-design-specific use cases (mood boards, paint matchers, color tools), our AI home design apps roundup covers the broader iOS landscape.
Shortcuts and tips iPhone users miss
The iPhone-specific affordances most people skip — and that change the workflow once you know they exist.
Use the Share Sheet. You don’t have to open the design app to start a redesign. From any photo (in Photos, Messages, Mail, Safari), tap Share, scroll down to the design app’s icon, and the redesign starts in the background. This is how people who actually live in the workflow use these apps — they take a photo over breakfast, share-sheet it to Roomagine, and the rendered redesign is waiting when they finish their coffee.
Build a Shortcut for the work around the redesign. Shortcuts can’t drive a render inside an app that doesn’t publish actions, and most apps in this category — Roomagine included — don’t. What it is genuinely good for is the surrounding admin: a Shortcut that creates a dated album, opens the camera, and files every room photo into it keeps your before shots in one place instead of scattered through the camera roll. The Shortcuts user guide is the right starting point if you’ve never built one.
Add a widget. A Home Screen widget that shows your last redesign, or your saved style boards, is a low-effort taste check — every time you unlock your phone, you see the room you’re working toward. It’s the same logic as putting a vision board on your fridge, except it travels with you.
Don’t sit and watch the render. Roomagine keeps working if you leave the screen and the finished design is waiting when you come back. There’s no Lock Screen Live Activity today, so you won’t see progress outside the app — but the practical effect is the same, and it reshapes how often you run redesigns. Once you stop watching the spinner you start running three or four passes a session instead of one.
Sync via iCloud Photos. Save your redesigns to a dedicated iCloud Photos album. They sync to your iPad, your Mac, and the Photos web app you can pull up on a friend’s laptop when you’re showing them what you’re thinking. Interior design is a conversation, and the conversation rarely happens on the device that did the rendering.
The throughline: the apps are the engine, but the iOS surface area around them is what turns redesigning a room into a habit rather than an event.
Frequently asked questions
Do I need an iPhone Pro to use AI interior design apps?
No. The standard iPhone (14, 15, 16) takes excellent photos and is fully supported by every major AI interior design app. The Pro models add LiDAR, which gives you scale-correct redesigns and AR walkthroughs — useful, but not required. If you’re shopping for an iPhone primarily to use these apps, the Pro is a marginal upgrade; if you already have one, use the LiDAR scan path when the app offers it.
How accurate are the redesigns to my actual room?
The composition (where the sofa is, where the windows are, where the doors land) will be accurate. The colors, materials, and decor are reinterpreted in the style you chose, so they won’t match what’s currently in the room — that’s the point of a redesign. Scale is accurate to within ~10% on photo-only captures and within ~3% on LiDAR scans. If you’re planning real purchases, double-check critical dimensions (sofa length, rug size) against the AI’s suggested furniture before you buy.
Can I use these apps offline?
Mostly no. The capture step (taking the photo, running the LiDAR scan) is local, but the rendering pass runs in the cloud on every major AI interior design app, because the models are too large to ship in an iOS app bundle. You need a network connection for the redesign itself. The output (rendered images, furniture lists) is then saved locally and available offline. If you’re on a flight, capture now and render when you land.
Are my room photos private?
That depends on the app’s policy — read it before you sign up. The 2026 category norm is that photos are uploaded for rendering, then either deleted or kept (with opt-in) to improve the model. Roomagine deletes uploaded photos after rendering unless you opt in to retention. If your room contains sensitive content — a workspace whiteboard, a child’s photo on the wall — crop it out before uploading.
Will the AI suggest furniture I can actually buy?
Yes — the better apps return shoppable lists with real product links to retailers like Wayfair, West Elm, Article, IKEA, and Crate & Barrel. You’ll get a mix of price points, dimensions that match the redesigned room, and direct purchase links. Shopping is one of the bigger differentiators between apps; if it matters to you, test the furniture-matching depth on each before subscribing.
Open the App Store. Redesign your room.
If you’re on iPhone, the gap between “I’m tired of how this room looks” and “I have three styled redesigns and a shopping list” is now about a minute. Open the camera, take a corner shot, run it through an AI interior design app — Roomagine if you want photo-to-redesign with shoppable furniture matches, branded catalogs if you want to visualize specific products, or a floor planner if you’re starting from an empty room. Try a few. The good ones reveal themselves quickly. Download Roomagine for iPhone on the App Store, point your iPhone at the wall you’ve been ignoring, and see what your room could be.